Flat wall paint gives your rooms a beautiful, velvety look, but that soft matte finish can be a magnet for smudges, scuffs, and fingerprints. Because it’s so porous, cleaning it the wrong way can easily lead to shiny spots or streaks. Don’t worry—with the right tools and a gentle touch, you can keep your walls looking fresh.
The secret is simple: grab a soft sponge, a mild cleaner (just a few drops of dish soap in warm water), and use a light dabbing motion. The biggest mistake we see is aggressive scrubbing, which can create glossy patches known as burnishing. This guide will walk you through our professional, paint-safe method.
Why Bother Cleaning Your Bathroom Walls?
Think about it for a moment. Your bathroom is likely the most humid, high-traffic room in your house. Every steamy shower and splash from the sink coats your walls in a fine layer of moisture and residue. This creates the perfect environment for problems that go beyond just aesthetics.
Ignoring your walls now can lead to bigger, more expensive issues down the road. This task isn’t just about making the room look nice; it’s a crucial step in protecting your home and your family’s well-being.
It’s a Matter of Health and Hygiene
The primary concern is mold and mildew. These fungi thrive in damp, warm spots, and once they take hold, they can release spores into the air. This is particularly bad news for anyone in your family with allergies, asthma, or other respiratory conditions. Clean walls are your first line of defense.
A truly clean bathroom isn’t just about sparkling surfaces. It’s about eliminating the invisible threats—like bacteria and allergens—that accumulate over time. This is how you create a genuinely healthier environment for your loved ones.
Preventing Costly Long-Term Damage
Beyond health concerns, keeping your walls clean is simply smart home maintenance. Here’s a quick look at what regular cleaning helps prevent:
- Soap Scum Buildup: That chalky film isn’t just ugly; it can etch into paint and tile grout, becoming nearly impossible to remove if left for too long.
- Water Stains: Minerals from hard water can leave behind permanent discoloration, especially on wallpaper and painted surfaces.
- Peeling and Cracking: Trapped moisture behind paint or wallpaper leads to bubbling, peeling, and cracking, which can be a hassle to repair.
It’s clear that homeowners are paying more attention to home hygiene. The global market for household cleaners is projected to reach USD 47.07 billion by 2028, driven by a greater focus on sanitation. You can discover more insights about the household cleaners market and its growth. A little proactive care now keeps your bathroom looking fresh and saves you money on future repairs.
Choosing the Right Tools and Cleaners
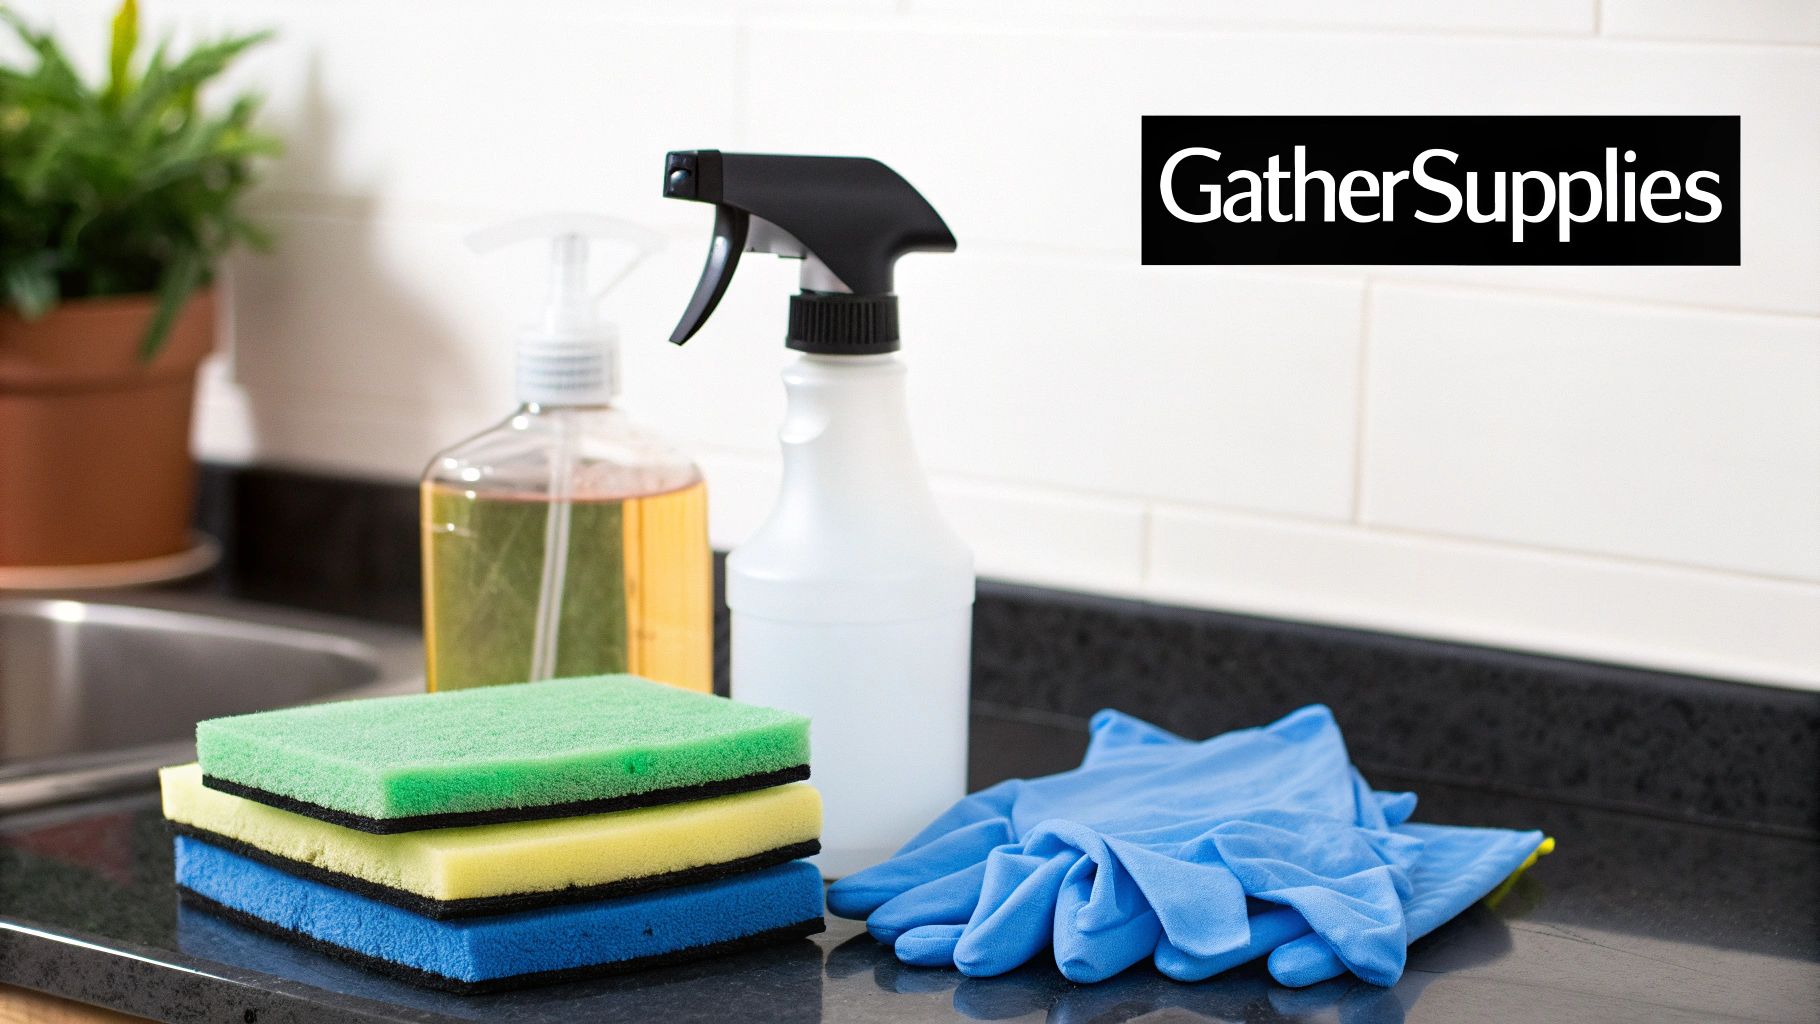
Before you start scrubbing, let’s get your gear in order. Having the right supplies on hand transforms a frustrating chore into a quick, satisfying task. Think of it as your pre-cleaning ritual—get this part right, and the rest is a breeze.
Creating a dedicated kit for cleaning bathroom walls eliminates mid-chore scavenger hunts for a brush or cloth. It’s a simple step that makes the entire process smoother and more efficient.
Your Essential Cleaning Toolkit
You don’t need an arsenal of fancy gadgets. For most bathroom walls, a few reliable basics are all it takes to achieve a professional-level clean.
- Microfiber Cloths: These are non-negotiable and your best friend for this job. Microfiber is engineered to trap dirt and grime instead of just pushing it around like an old rag.
- Soft-Bristle Brush: For tougher spots like soap scum or grout lines, a gentle brush is your go-to tool. Avoid anything too harsh that could scratch paint or tile. An old toothbrush is perfect for tight corners!
- Protective Gloves: Always protect your hands. Even natural, homemade cleaners can be drying, so a good pair of waterproof gloves is a must.
Our team always emphasizes using the right tool for the job. A microfiber cloth isn’t just a cloth—it’s a purpose-built tool for lifting grime effectively, which is a core part of our Care in Every Detail philosophy.
DIY vs. Store-Bought Cleaners
Whether you prefer DIY solutions or the convenience of store-bought products, you have excellent options. A simple, effective homemade cleaner can be made by mixing equal parts white vinegar and warm water in a spray bottle. This combination is fantastic for cutting through everyday grime and soap scum.
The commercial cleaner market is massive—valued at around USD 24.5 billion in 2021—which means there are countless specialized products available. You can read the full market report for a deeper dive. These formulas are designed to tackle specific problems like mold and bacteria with targeted power.
The choice between a homemade mix and a commercial cleaner often depends on your wall type and the severity of the grime. Here’s a quick comparison to help you decide.
Natural vs. Commercial Bathroom Wall Cleaners
| Feature | Natural Cleaners (Vinegar, Baking Soda) | Commercial Cleaners |
|---|---|---|
| Effectiveness | Great for routine cleaning, light grime, and soap scum. | Formulated for heavy-duty jobs like mold and deep stains. |
| Cost | Very inexpensive; uses common household items. | Can be more expensive, especially for specialty products. |
| Safety | Generally safe for kids and pets; non-toxic. | May contain harsh chemicals; requires good ventilation. |
| Eco-Friendliness | Biodegradable and environmentally friendly. | Varies by brand; look for eco-friendly labels. |
| Best For | Routine cleaning, sensitive households, painted walls. | Tough stains, tile/grout, disinfecting surfaces. |
Ultimately, the best choice depends on the job. For stubborn stains or a bathroom that needs a complete reset, our deep cleaning services can provide the professional power you need.
How to Clean Bathroom Walls by Surface Type
Not all bathroom walls are the same. A method that works wonders on tile could be a disaster for wallpaper. To clean your bathroom walls effectively—without causing damage—you must match your technique to the material.
Before starting, always perform a spot test. Choose a small, inconspicuous area, like behind the door or vanity, and apply a bit of your cleaning solution. This simple check is your best insurance against discoloration or damage.
For Painted Walls
Most bathrooms have semi-gloss or satin paint for a reason—it’s designed to handle moisture. While these finishes are durable, they still require a gentle touch to avoid dulling the sheen or leaving streaks.
Your best bet is a mild, alkaline cleaner. Skip the harsh chemicals; you can easily make a powerful solution yourself.
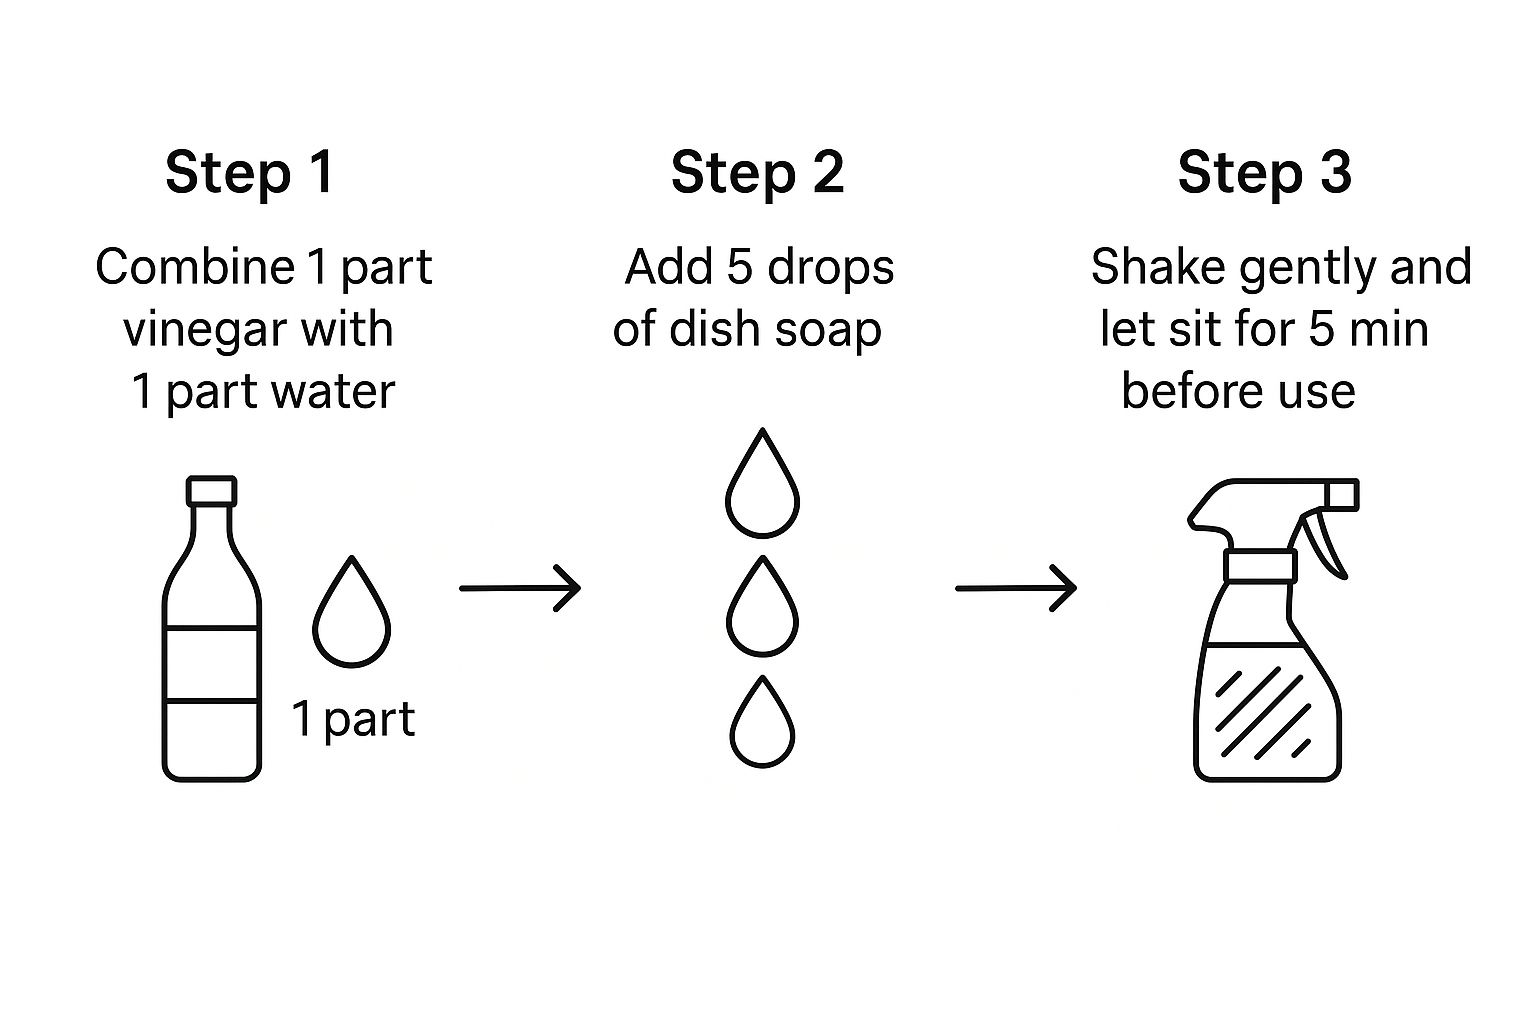
This three-step mix creates a gentle yet effective cleaner that will cut through grime without harming your paint.
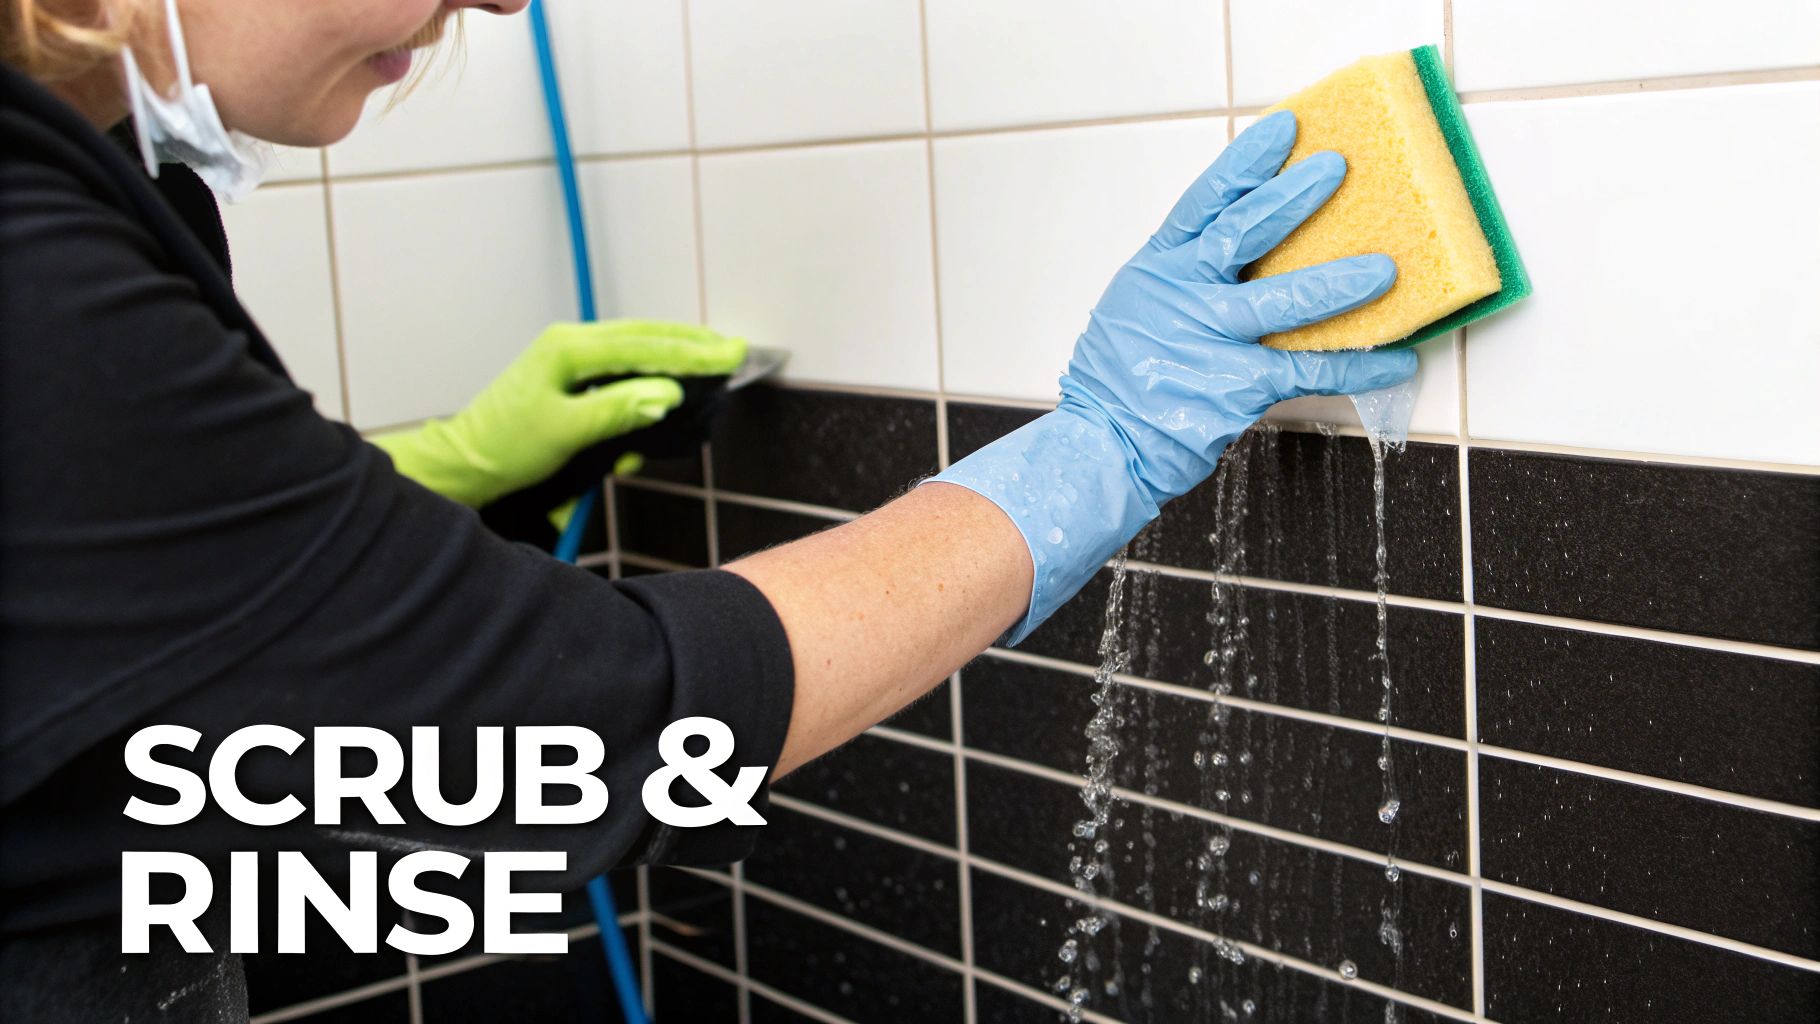
Here’s the trick: always apply the cleaner to your microfiber cloth, not directly onto the wall. Work from top to bottom in small sections using soft, circular motions. Once clean, wipe the area with a second cloth dampened with plain water, then immediately dry it with a third clean cloth to prevent water spots.
For Tiled Walls
Tile is tough, but the grout between it is porous and a magnet for stains and mildew. The goal is to clean both effectively. For the tiles themselves, the same simple vinegar-and-water solution often works perfectly.
However, the grout will likely need extra attention.
Pro Tip: Avoid using harsh, acidic cleaners like straight vinegar on unsealed grout, as it can cause it to deteriorate over time. For stubborn stains, a paste made from baking soda and water is a safer and highly effective alternative.
Apply the baking soda paste directly to the grout lines with an old toothbrush. Let it sit for about 15 minutes to break down the grime, then give it a gentle scrub. Rinse thoroughly with water and dry the area. If you’re dealing with deeply stained grout that won’t budge, it might be time for professional help. Our expert grout cleaning services can restore your tile to its original beauty.
For Wallpapered Walls
Cleaning wallpaper requires the most care. Most modern bathroom wallpapers are vinyl-coated and can handle a light cleaning, but older papers can be ruined by excess moisture. Always check the manufacturer’s instructions first if possible.
For washable wallpaper, follow these steps:
- Dust First: Use a soft brush or a vacuum with a brush attachment to remove loose dust and cobwebs.
- Mix a Gentle Solution: A few drops of clear dish soap in a bucket of warm water is all you need. Avoid colored soaps that could stain the paper.
- Wipe, Don’t Scrub: Lightly dampen a soft sponge with the soapy water and wring it out until it’s nearly dry. Gently wipe the wall from top to bottom.
- Rinse and Dry Immediately: Use a second sponge dampened with clean water for a quick rinse, then immediately pat the wall dry with a clean microfiber towel.
Never oversaturate the wallpaper. If water seeps into the seams, it can cause the paper to peel away from the wall. A little care will keep your wallpaper looking fresh for years.
Tackling Stubborn Mold and Mildew
Spotting dark, fuzzy patches on your bathroom walls is frustrating but common. It helps to know what you’re dealing with. Mildew is usually a surface fungus appearing as gray or white powdery spots. Mold is often black or green and can penetrate deeper into surfaces like drywall or grout.
Both love damp, humid environments, making your bathroom the perfect home. The good news is you can handle most minor outbreaks with simple ingredients. Ignoring them is not an option—the problem will only get worse.
Safe and Effective Removal Solutions
Before reaching for harsh chemicals, try a powerful DIY solution. A mix of equal parts white vinegar and water in a spray bottle works wonders. For tougher spots, a 3% hydrogen peroxide solution straight from the bottle is also effective.
Here’s how to use them safely:
- Vinegar Solution: Spray directly on the mold or mildew and let it sit for at least an hour to break it down. Then, gently scrub with a soft brush and rinse the area with water.
- Hydrogen Peroxide: Apply to the spot and let it bubble for about 10-15 minutes. You’ll see it working immediately. Afterward, scrub and wipe it clean.
No matter which method you choose, ensure the room is well-ventilated. Open a window or turn on the exhaust fan. Safety is always the first priority.
When to Call for Professional Help
DIY methods are great for small, surface-level spots. However, some problems are too big to handle alone, and it’s safer to call in experts.
If you find mold covering an area larger than 10 square feet, if it returns despite cleaning, or if you notice a persistent musty odor, it’s time to call a professional. Widespread mold can indicate a deeper moisture issue that requires expert remediation.
Your family’s health is the top priority. For more information on mold safety, the Environmental Protection Agency (EPA) offers valuable resources that are worth reading.
Keeping Your Bathroom Walls Cleaner for Longer
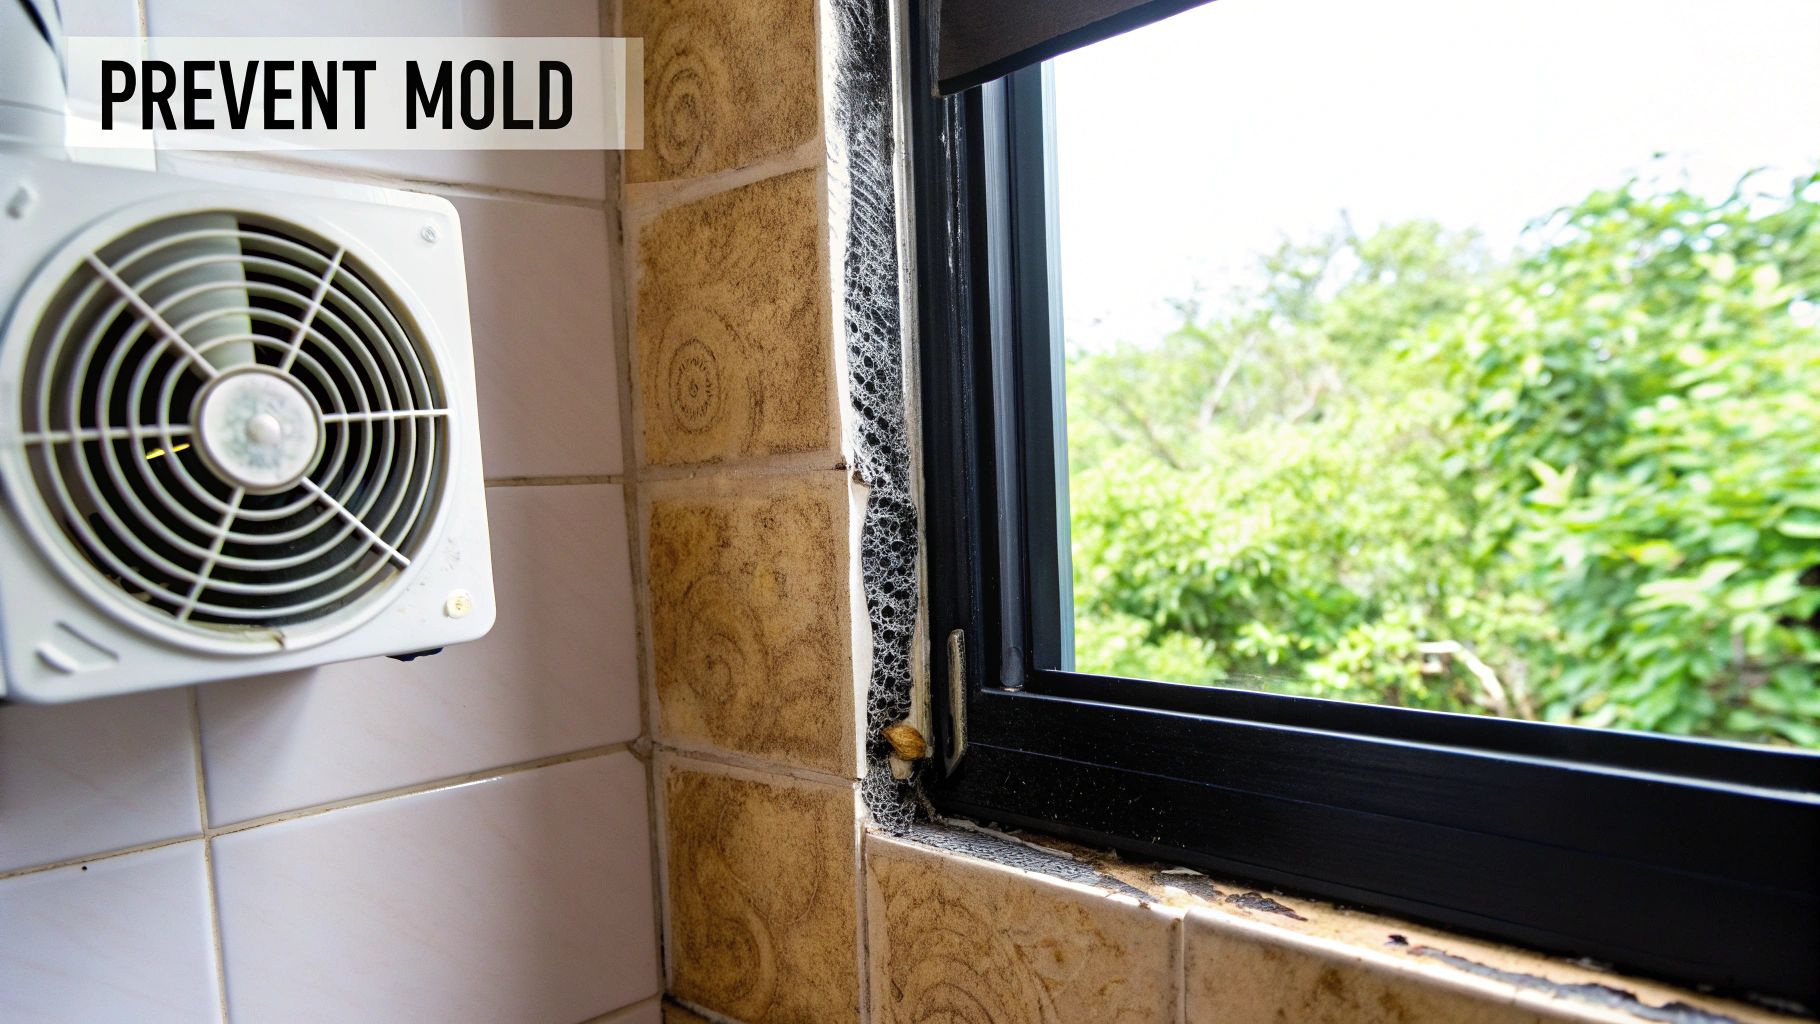
Honestly, the best way to deal with grimy bathroom walls is to prevent the buildup from starting in the first place. A few simple, smart habits can make a huge difference and save you from heavy-duty scrubbing later.
Think of it less as a chore and more as daily maintenance. These small actions break the cycle of moisture and soap scum that leads to stubborn stains and mildew. It’s all about working smarter, not harder.
Build These Simple Daily Habits
Creating a healthier bathroom environment comes down to controlling moisture. A minute or two of effort after each shower can dramatically cut down on grime.
- Run That Exhaust Fan: This is non-negotiable. Turn the fan on before you get in the shower and leave it running for at least 15–20 minutes after you’re done. This pulls humid air out of the room before it can settle on your walls.
- Embrace the Squeegee: Keep a squeegee in your shower. A quick 30-second wipe-down of tile and glass doors after every use is the single best way to prevent water spots and soap scum.
A Smart Maintenance Schedule
Beyond daily habits, a light, consistent cleaning schedule will keep everything looking fresh. A quick wipe-down of high-splash zones once a week prevents buildup. This proactive approach is far less work than a massive deep clean every few months.
The demand for professional wall cleaning is rising, with the global market projected to hit USD 3.8 billion by 2033. More people recognize the importance of a truly hygienic space. You can learn more about the wall cleaning market growth and its drivers.
If you’d rather leave the consistency to the pros, our recurring cleaning services are designed to keep your bathroom pristine without you lifting a finger.
Your Top Bathroom Wall Cleaning Questions, Answered
To wrap up, our team wants to tackle some of the most common questions we hear about cleaning bathroom walls. Getting these details right will help you move forward with confidence and achieve great results.
Let’s dive into some practical answers to get you started.
How Often Should I Clean My Bathroom Walls?
For general upkeep, a light wipe-down every one to two weeks is a fantastic habit. This prevents soap scum and dust from accumulating, especially in high-splash zones around the sink and shower.
We also recommend a more thorough, top-to-bottom deep clean every three to six months. The ideal timing depends on how frequently the bathroom is used and how effective your ventilation is. Of course, if you ever spot mildew, address it immediately.
Is It Safe to Use a Magic Eraser on Painted Walls?
This is a great question that requires caution. Magic erasers are micro-abrasive, meaning they can dull or even strip the finish from your walls, especially on delicate matte or eggshell paints.
While they may be safer on more durable semi-gloss or high-gloss finishes, you should always test one on a small, hidden area first. Try a spot behind the door or under a vanity before tackling a larger, more visible section.
Our team’s advice? Stick with a soft microfiber cloth for most painted surfaces. It’s a much safer approach that protects your paint while still giving you a fantastic clean—a perfect example of our Care in Every Detail philosophy.
What Is the Best Way to Clean High Bathroom Walls or Ceilings?
A long-handled, flat-head microfiber mop is your best friend for safely reaching high walls and ceilings without balancing on a step stool.
Simply dampen the mop pad with your cleaning solution, wringing out any excess liquid so it doesn’t drip. Work in small sections, moving from top to bottom to catch any drips. This method ensures even coverage without oversaturating the walls, which is key to preventing streaks. It’s a pro technique that makes a challenging task much simpler.
Ready to hand over the scrubbing and enjoy a professionally cleaned bathroom without the hassle? NeatBee Cleaning is here to help. Our trusted team is committed to providing a spotless, healthy home for your family. Book your cleaning today and let us bring the sparkle back to your space.